 NEWS 20170407 about exGENT
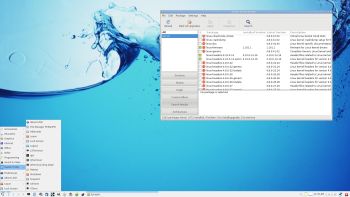
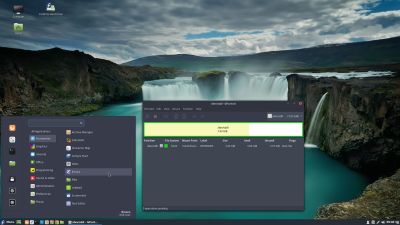
I’ve made yet a new version (20170407) of exGENT based on Gentoo Linux. It uses Xfce 4.12.1 and LXQt 0.11.0 Desktop environments and kernel 4.10.4. It is for the 64 bit architecture. I call it exGENT 2017 Xfce4/LXQt Live DVD. It replaces version 20170331. The ISO file is of 2620 MB due to the fact that this version has a lot of packages pre-installed. Despite this exGENT version 170407 runs surprisingly fast from DVD or USB. Even in VirtualBox and VMware. Faster than most other Linux live systems. All installed packages in exGENT have been updated to the latest available version by 170407.
What’s new in exGENT Build 170407?
The boot loader Grub Legacy has been replaced by Grub2. I started this build in the hope that I should be able to implement a new independent installer program called Calamares. I wasn’t able to do it now though. (Many dependencies to satisfy). My old installer script will have to do until I find a solution. Anyway, I think exGENT Build 170407 can be of interest because of the change to Grub2 and the fact that it has one of the newest kernels installed. MOST IMPORTANT: In versions before 170309 the file system wasn’t writable when running exGENT live (from DVD). Now you can emerge (install) new programs/packages even while running the system from a DVD or USB stick. If you do that and later decide to install exGENT to hard drive all your changes will follow! Furthermore you can install/transfer exGENT to a USB stick with the dd command in Linux or use Etcher and Rufus in Windows. Watch a screenshot when Etcher is running. Such installations were impossible before. Note: I have uninstalled Google Chrome. It’s not needed anymore, since Netflix runs very well in Firefox now. I’ve also added the LXQt Desktop environment. LXQt is a lightweight Qt desktop environment. It will not get in your way. It will not hang or slow down your system. It is focused on being a classic desktop with a modern look and feel. You can choose between Xfce4 and LXQt when logging in at Slim’s login screen. Just press F1.
Used KERNEL
My special kernel 4.10.4-aufs-gentoo-exton-big corresponding Kernel.org’s kernel 4.10.4.
Programs etc
The best thing with exGENT is the premier autodetection of hardware and the ability to easily install the system to hard drive during a live session. Installed programs: Among many others GParted, GNU Emacs, Firefox, Spotify, Thunderbird, Samba, Vlc, AbiWord, Nvidia Graphics driver 375.39 and NetworkManager. Furthermore compilation tools so that you can install programs from source the Gentoo way.
Who is exGENT/Gentoo for?
Experienced Linux users or those who really want to learn Linux. (Perhaps also for people who are bored with mainstream distributions like Ubuntu).
Screenshots
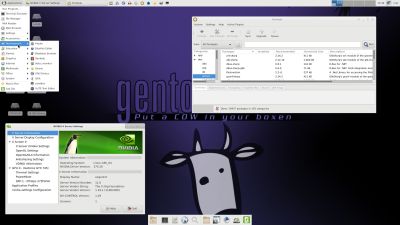
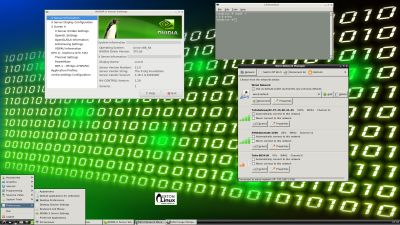
exGENT running Nvidia config
exGENT running Brasero
exGENT running Samba
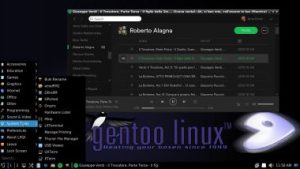
exGENT running Spotify – in Xfce4
exGENT running Spotify – in LXQt
exGENT running in VirtualBox
exGENT running in VMware (installation to virtual hard drive)
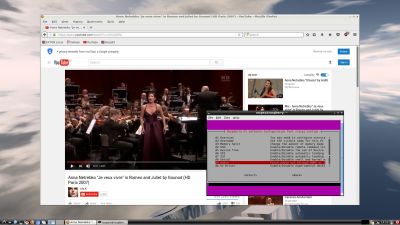
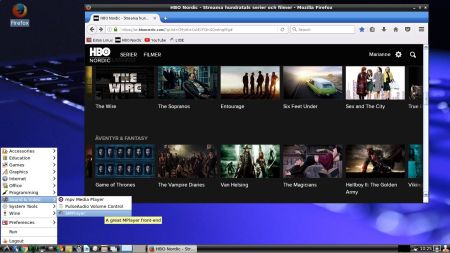
exGENT running Firefox and Netflix

